Ready to enhance your Minecraft experience with mods? This guide provides a step-by-step walkthrough for downloading and installing Minecraft Forge, the gateway to a world of exciting modifications. We'll cover everything from system requirements to troubleshooting common issues, ensuring a smooth and successful installation.
System Requirements: Preparing Your System
Before you begin, ensure your computer meets the minimum requirements. Just like building a house needs a solid foundation, Forge requires specific system specifications. These include a compatible version of Java (a programming language Minecraft uses), sufficient RAM (computer memory), and a graphics card capable of handling the increased visual demands of mods. Checking these requirements beforehand prevents frustrating issues later on. Always consult the official Forge website for the most up-to-date specifications.
Finding the Right Forge Version: Precision is Key
Choosing the correct Forge version is crucial. A mismatch between your Minecraft version and Forge can lead to crashes and instability. This is akin to using the wrong key for a lock – it simply won't work. The official Forge website, or other reputable sources, provides compatibility tables. Always refer to the official site for the most accurate and current information.
Here's a sample compatibility table (remember to check the official Forge website for updated information):
| Minecraft Version | Compatible Forge Version(s) (Example - Check Official Website!) |
|---|---|
| 1.19.4 | 1.19.4-44.1.0 (or later - Check!) |
| 1.18.2 | 1.18.2-40.2.0 (or later - Check!) |
| 1.16.5 | 1.16.5-36.2.0 (or later - Check!) |
Downloading Forge: A Simple Download
Download the correct Forge installer from the official Forge website. Beware of imposter sites! Select the installer matching your Minecraft version and operating system (Windows, macOS, or Linux). The file will likely be a JAR file (a standard file format for Java applications). Double-check the source to avoid downloading malicious software.
Installing Forge: A Step-by-Step Process
Follow these steps for a successful Forge installation:
- Locate the installer: Find the downloaded JAR file (usually ending in ".jar"), likely in your "Downloads" folder.
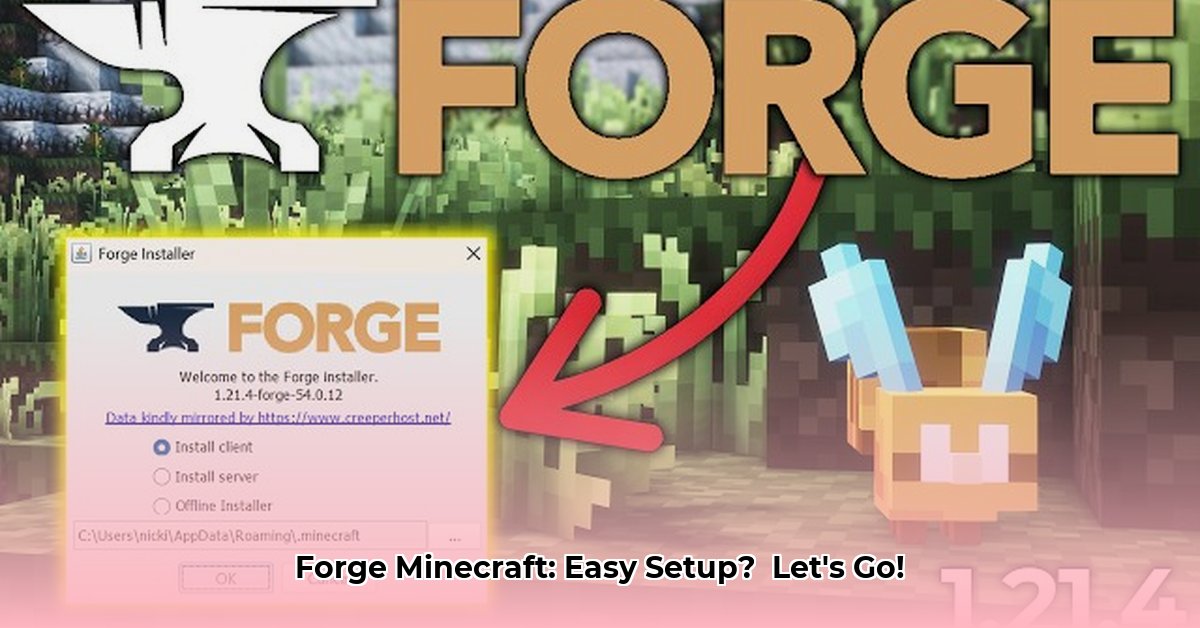
- Run the installer: Double-click the JAR file to launch the installer. No special software is needed.
- Choose an installation path (optional): The installer may prompt you to select a location for Forge. The default location is usually fine. Remember this location for later mod installation.
- Confirmation: Once the installation completes, you’ll find Forge listed as a profile in your Minecraft launcher.
Troubleshooting: Addressing Common Problems
Even experienced users encounter issues. Here's how to address some common problems:
Exit Codes 0 or 1: These often indicate Java-related problems. Update your Java installation to a version supported by Minecraft and Forge, or consider a complete reinstall of Java. Remember to restart after updating.
Minecraft Crashes: Crashes after installing Forge or mods usually signify a mod conflict. Remove recently added mods one by one to identify the culprit. Check the mod's website or community forums for compatibility information.
Missing "mods" Folder: This folder, located within your Minecraft directory, houses your mods. If it's missing, re-check your Forge installation location.
Advanced Modding: Expanding Your Horizons
Once comfortable with Forge, explore modpack installers like MultiMC or Twitch. These tools simplify managing multiple mods, offering a streamlined modding experience. They make installing and switching between different mod collections much easier.
Share Your Experience!
Successfully installed Forge? Share your experience and any questions in the comments below! The Minecraft community is known for its helpfulness and collaborative spirit.
How to Fix Minecraft Forge Exit Code 0 Error
Exit code 0 often hides underlying problems. Troubleshooting involves checking Java version, RAM allocation, and mod compatibility. Resolving conflicting mods is critical. A methodical approach ensures the best chance of success.
Key Takeaways:
- Exit code 0 often masks deeper issues within Minecraft Forge.
- Troubleshooting involves checking Java, RAM, and mod compatibility.
- Identifying and resolving conflicting mods is essential.
- A systematic approach improves your chances of success.
Troubleshooting Steps:
Verify Java Version: Ensure a compatible Java version is installed. Update or reinstall if necessary from the official Oracle website. A mismatch can cause numerous issues.
Allocate Sufficient RAM: Minecraft, especially with mods, is resource-intensive. Increase the allocated RAM in your Minecraft launcher settings. Insufficient RAM is a common cause of crashes and exit codes.
Tackle Mod Conflicts:
- Minimal Modpack Test: Create a new profile with only Forge—no mods. If it works, the problem lies within your mods.
- Methodical Mod Removal: Re-add mods one by one, testing after each addition. This helps pinpoint the conflicting mod.
- Check Mod Compatibility: Verify all mods are up-to-date and compatible with your Minecraft and Forge versions.
- Adjust Mod Load Order: The order mods load matters. Experiment with changing the load order in your mod manager (if applicable).
Check Antivirus Interference: Antivirus software sometimes interferes. Temporarily disable it or add Minecraft and its directory to exceptions.
Reinstall Forge: A clean reinstall can fix underlying corruption in Forge's files. Back up your important files beforehand.
Advanced Troubleshooting:
- Examine Log Files: Minecraft and Forge generate detailed log files (often in the
.minecraftfolder) containing clues about the error. - Seek Community Support: The Forge community forums offer valuable support. Clearly explain your issue, including versions, mods, and error messages.
By systematically addressing these points, you'll significantly improve your chances of resolving the exit code 0 error. With patience and a logical approach, you’ll return to your Minecraft world quickly.
⭐⭐⭐⭐☆ (4.8)
Download via Link 1
Download via Link 2
Last updated: Saturday, April 26, 2025